Sigh.. First, the fine print to make my lawyer happy:
DISCLAIMER: Always read and follow manufacturer's instrcutions, especially where they deviate from our instructions. USE THESE INSTRUCTIONS AT YOUR OWN RISK. InetDaemon assumes no responsibility for injuries or damage to yourself or your computer as a result of following these directions. We do not warrantee or guarantee the fitness of these instructions for any purpose. We have made every effort to tell you exactly what needs to be done and how to protect yourself and your computer. We will not respond to any e-mail or other request regarding any computer damaged while following these instructions. Any such message received will be ignored.
Now that the lawyers are satisfied, here's how you upgrade or replace a network interface card (otherwise known as a NIC).
- [Optional] Disable the Existing NIC in the Mainboard
(only if the mainboard has one and you are replacing or upgrading it).
- Restart the computer and access the BIOS setup utility
- In the BIOS, find and disable the existing NIC. Since there are several manufacturers of BIOS and each has several flavors, it is beyond the capabilities of this tutorial to cover where the network card settings may be.
- Save settings in the BIOS and exit
- Restart the PC. Verify the NIC is no longer enabled.
- Shut down and power off the computer
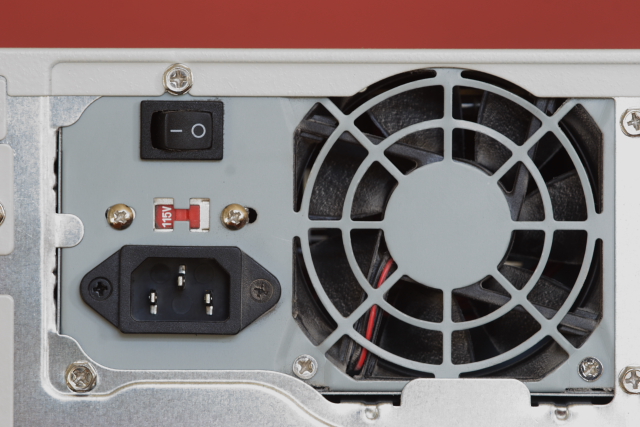
- Turn off the power supply rocker switch, if the power supply has one. Off is the ZERO (0) position.
- Unplug the computer from the wall power socket.
- Pick up your computer and carry it to well-lit, dust-free place where there is no carpet or anything else that might generate static electricity. I recommend a workbench above waist height, if you will be standing up to do work on your computer.
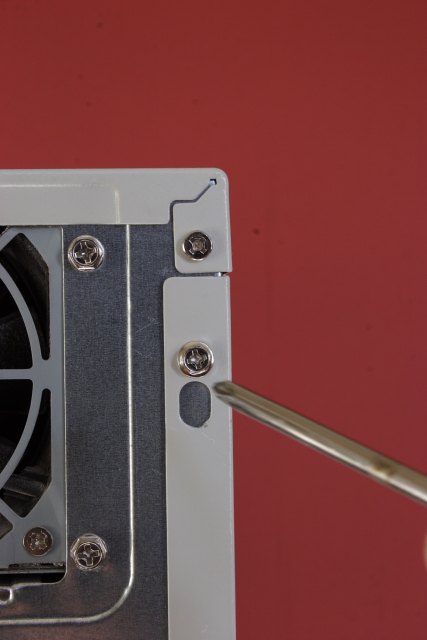
- Open the computer case. Open the side of the case farthest from the connector ports.
- Opening the computer case usually involves removing some screws. Place the screws where you can find them and where they won't fall into the computer case.
- Using a grounding strap, connect yourself to the metal of the computer's chassis.
- Remove the protection plate at the back of the computer to create an open hole in the back of the computer for the card.
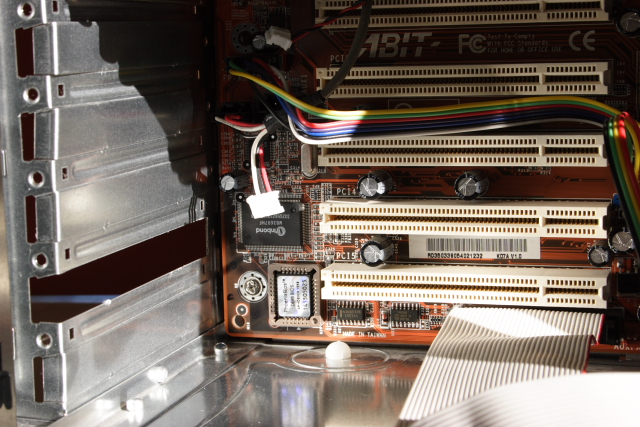
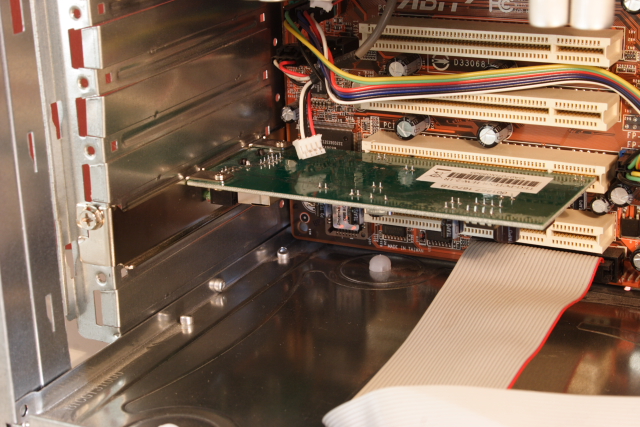
- Insert the Network Card into the slot in the mainboard. Cards can only be inserted one way because there is a plastic piece that matches a gap in the gold contacts. Press the card in firmly, but don't break the mainboard by pressing too hard.
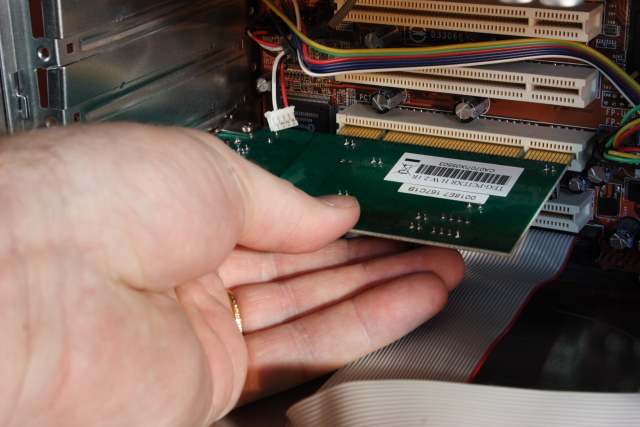
- Use a a screw to attach the network card to the chassis, if the computer case requires it.
- Clean up all loose items and account for all screws and parts removed earlier.
- Close the computer case.
- Plug the power cable into the computer's power supply
- Plug the power cord into the wall outlet.
- Turn the Power Supply rocker switch to the ON position (1)
- Power on the computer by pressing the power button on the front of the computer.
- Use the vendor-supplied disk to install the drivers for the network card.
- Reboot the computer
- Plug the network cable into the computer.
- Plug the network cable into your network switch or router.